
Dan J Paints Yellow: Stat Check Community Spotlight
Dan J is one of the community members here at the Stat Check Discord, and after seeing his wonderfully painted Eldar models we just had to reach out and ask him to write a tutorial on how he achieves his results. The following is taken directly from Dan with no content editing. Thank you to Dan for providing the photos and text of the following article.
Dan’s Instagram can be found at Dan J Paints
Painting Yellow - by Dan J
This is the first in a series of articles I hope to write over the next few months. In each article I'm going to focus on a recipe for a single colour, a technique or concept. My hope is to demystify painting a little and give you the confidence to give it a go.
In this article I'm going to share a recipe for getting a really rich, deep yellow. Yellow is one of those colours that can be a bit intimidating but hopefully this recipe will break it down a little.
I've used a Fire Dragon model but you could use this recipe for any model you want. Whether you're painting something with hard surfaces like an Imperial Fist or with more organic volumes like Mechanicus robes- the steps and principles are the same.
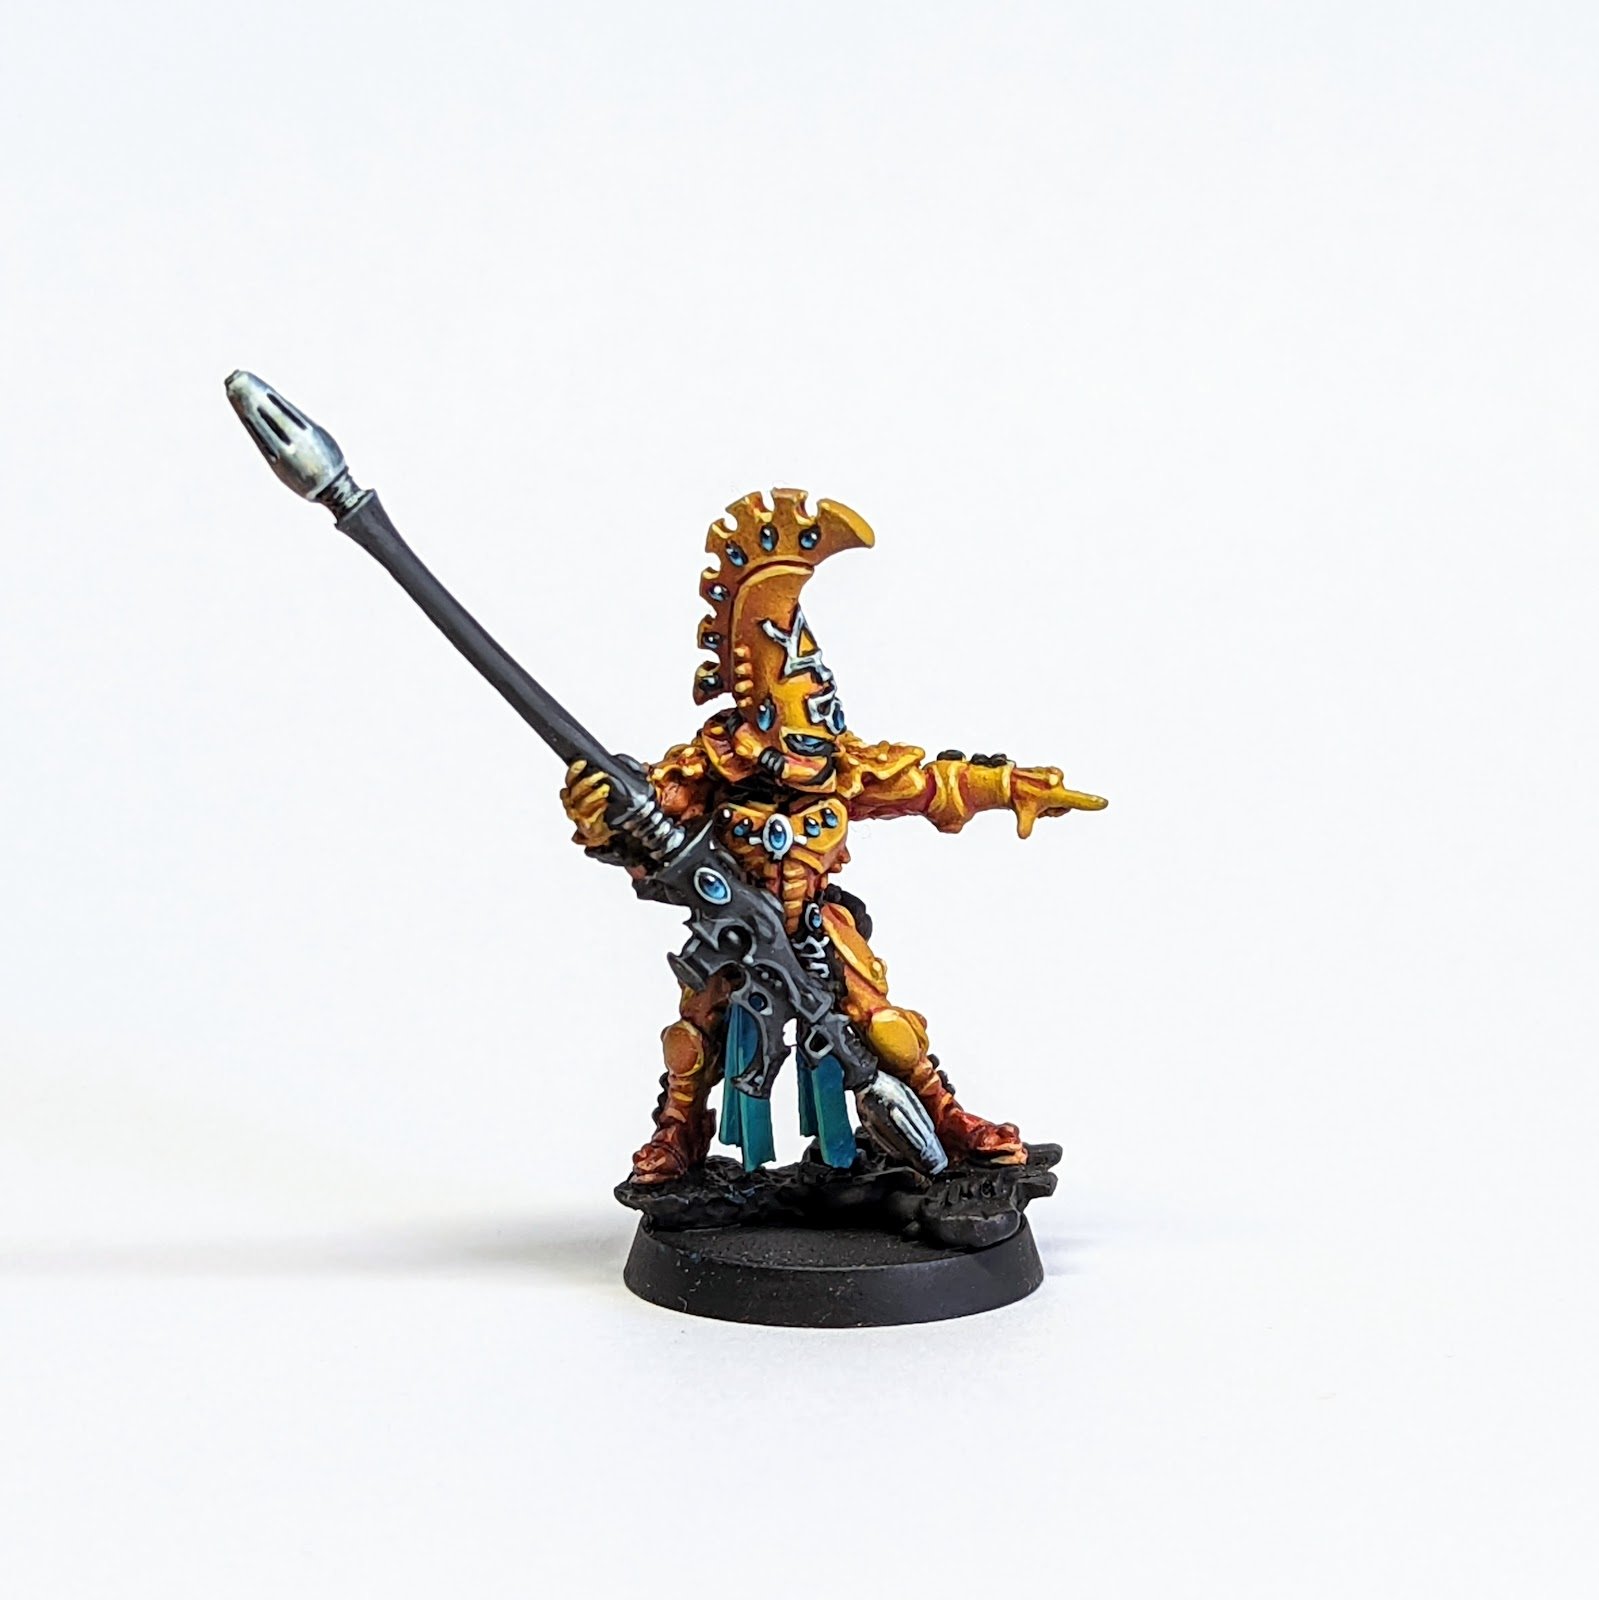
Fire Dragon Exarch
Photo Credit: Dan J
Paints I used for this recipe:
Vallejo Black Primer
Vallejo Game Colour Warlord Purple (substitute: Citadel Contrast Doomfire Magenta)
Vallejo Model Colour White
Citadel Contrast Iyanden Yellow
Vallejo Red Ink
Citadel Yriel Yellow
Vallejo Model Colour Ice Yellow (substitute: Citadel Dorn Yellow)
N.b I use an airbrush for some of these steps but you can easily achieve the same results with a normal brush if that's not your thing.
Step1: Priming
I primed the models black using an airbrush. A rattle can will work just as well.
In hindsight I should probably have used a grey or white primer (you probably should) but priming black is a thing for me, so black it is.
Step 2: Base
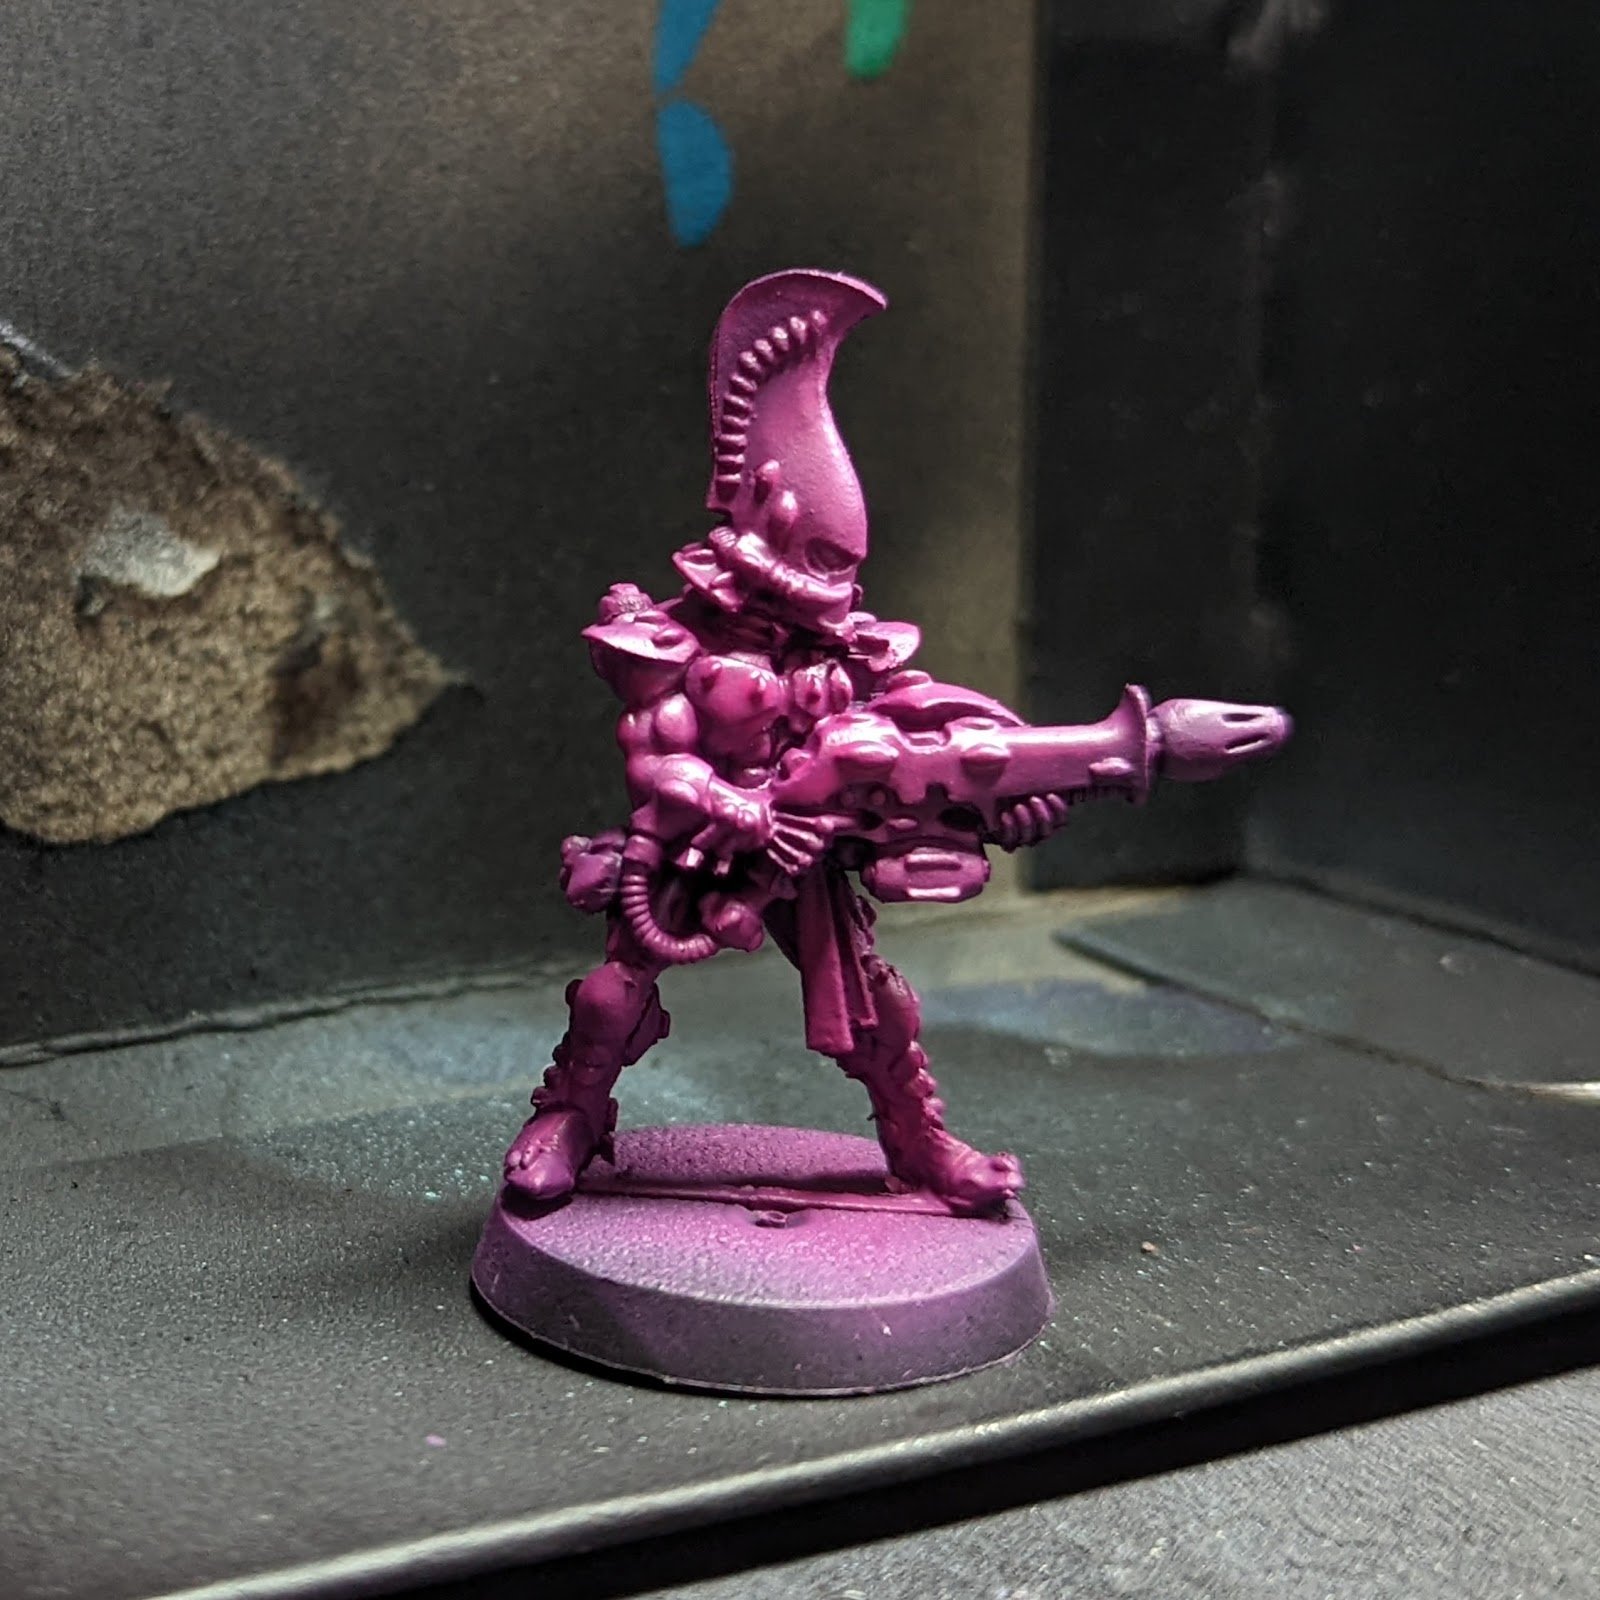
I thinned Vallejo warlord purple and gave the models 2-3 thin coats. It's important to use thin layers and let them dry between coats. Some people use a hairdryer for this.
Based
Photo Credit: Dan J
Step 3: Zenithal
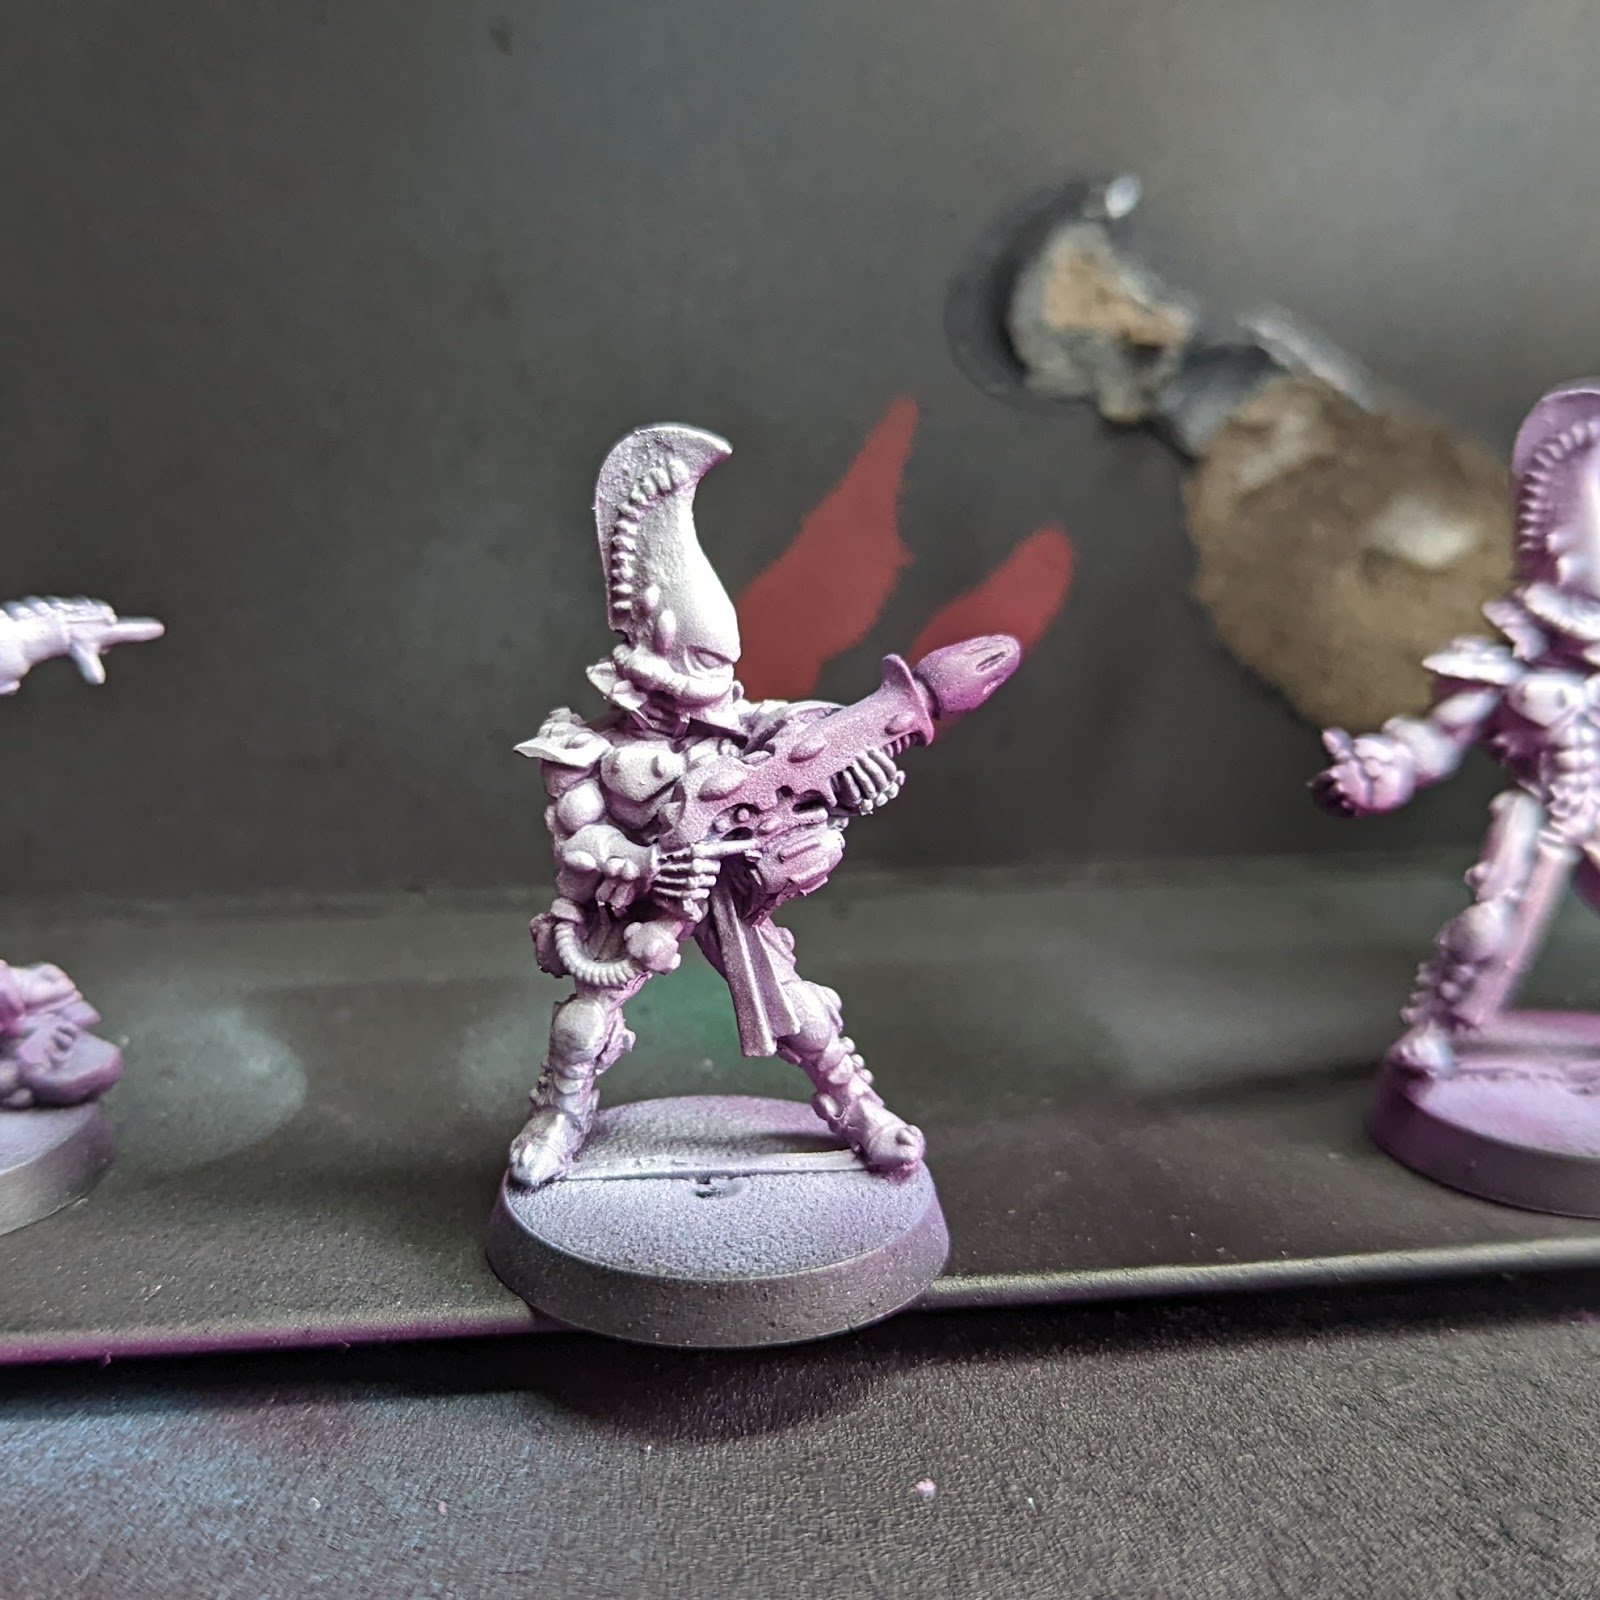
I wanted to prepare a good base for the yellow so I used the airbrush to zenithal highlight white, leaving warlord purple in the recesses and shadows. You can also use a rattle can or brush for this step.
Zenithal
Photo Credit : Dan J
Step 4: Contrast Layers
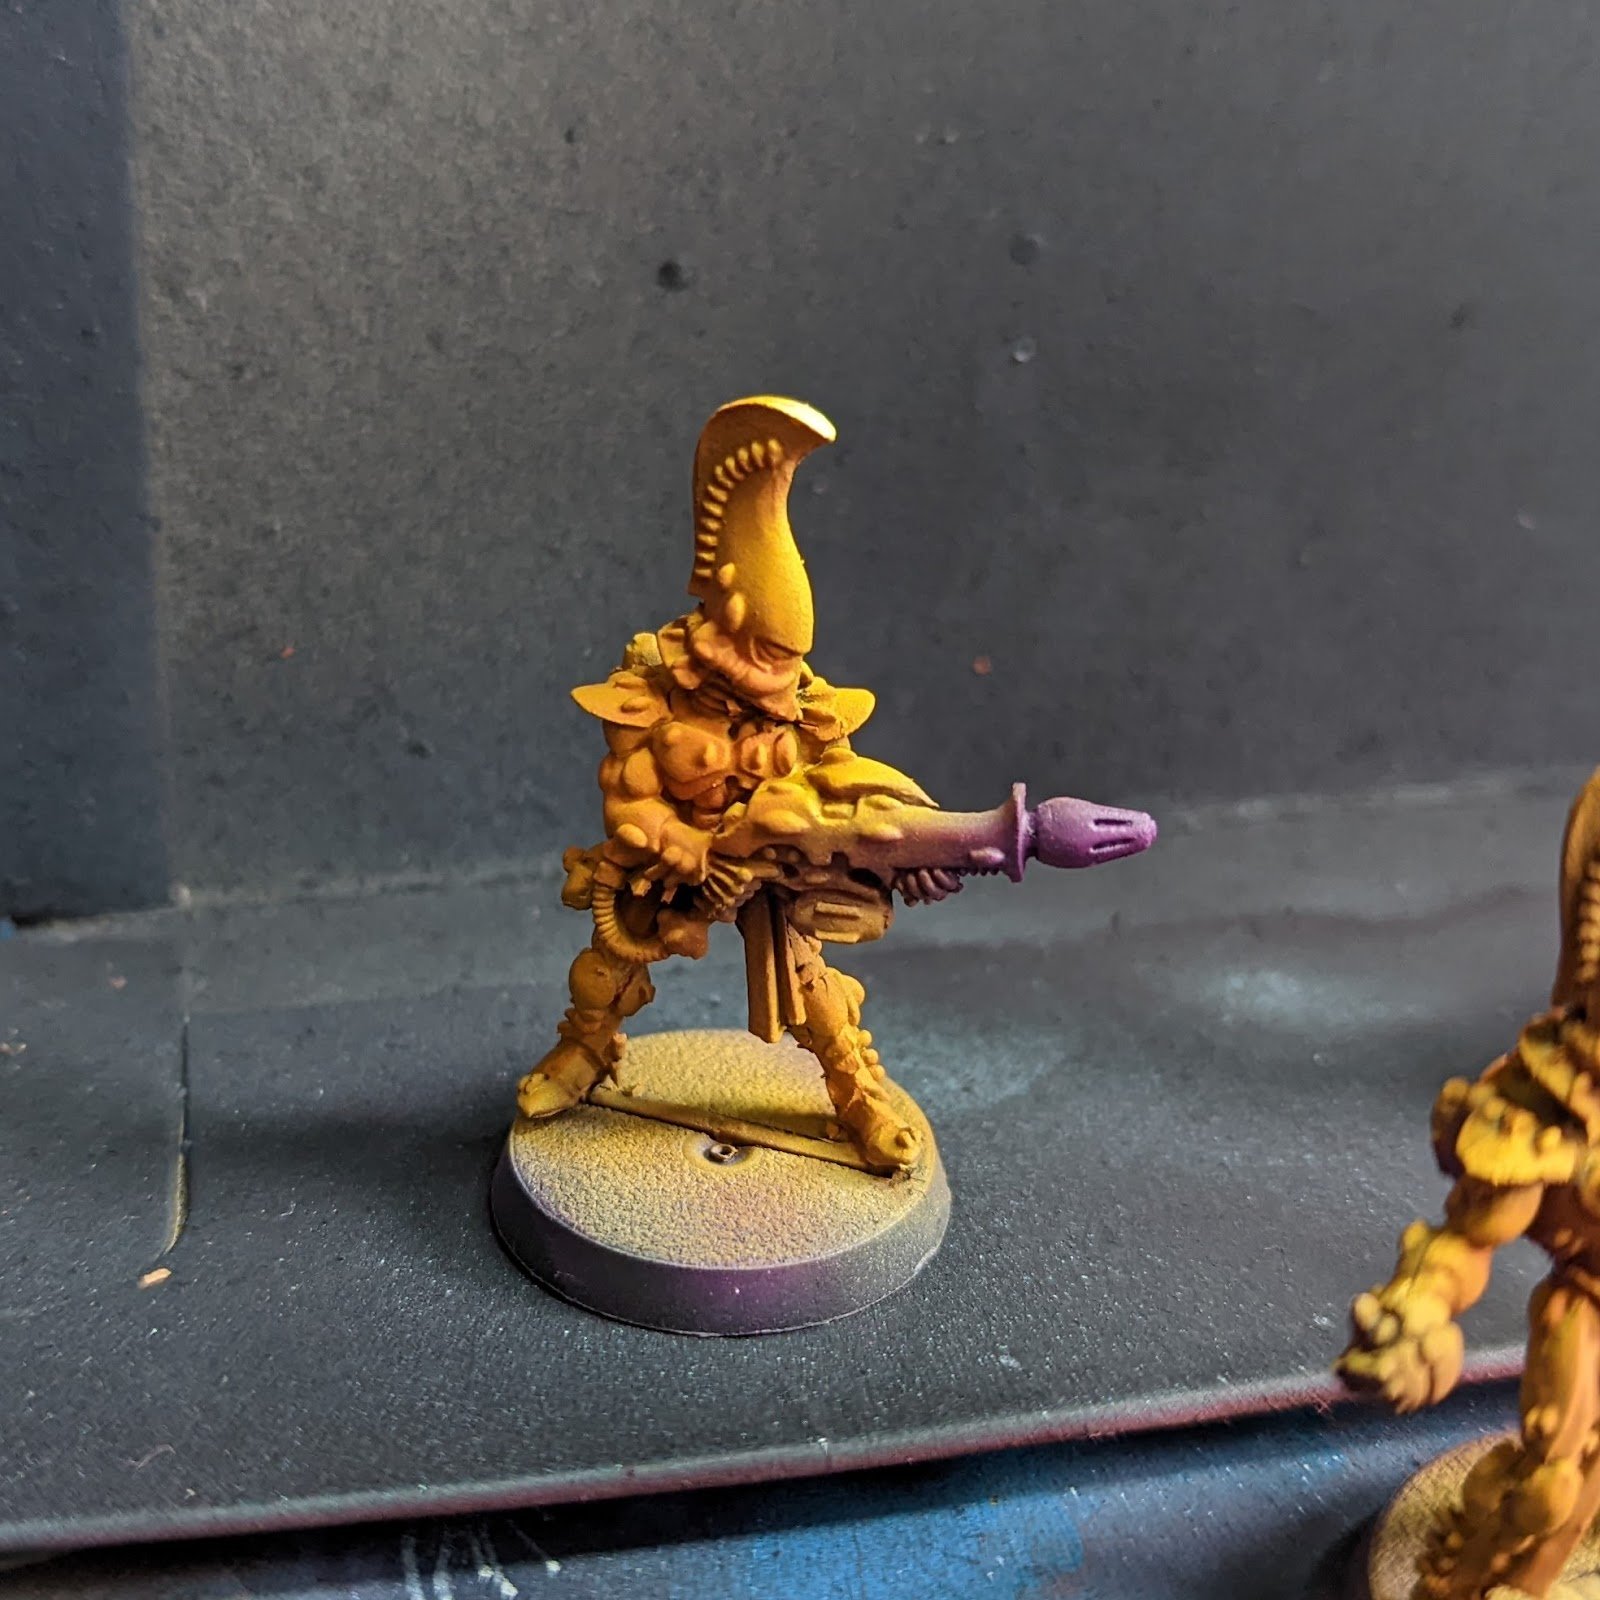
I carefully built up layers using Iyanden Yellow contrast paint. Do this to taste, I think I did 3-4 careful coats- focusing on the shaded areas in the last couple of coats.
A note on contrast paints:
I've never really used contrast paints for their intended use (as a one stop shop for colour and shade with a brush over a flat primer) but I love using them as glazes or through an airbrush. The density of pigment in the more colourful contrast paints brings incredible saturation - making these super vibrant, rich colours.
N.b. If you are using contrast paints with a brush, make sure it's not your best kolinsky sable brush because they tend to kill non-synthetic brushes.
Contrast Layers
Photo Credit: Dan J
Step 5: Shading

I thinned Vallejo red ink down (roughly 1:1 with water) and carefully used it as a glaze to shade the shadows with an airbrush. Careful with this - it's really easy to cover all that nice yellow from the previous step.
Make sure you’re shooting the airbrush from below the model to the get into the shadows rather than from above (as in previous steps)
Shading
Photo Credit: Dan J
Step 6: Yellow Volumes
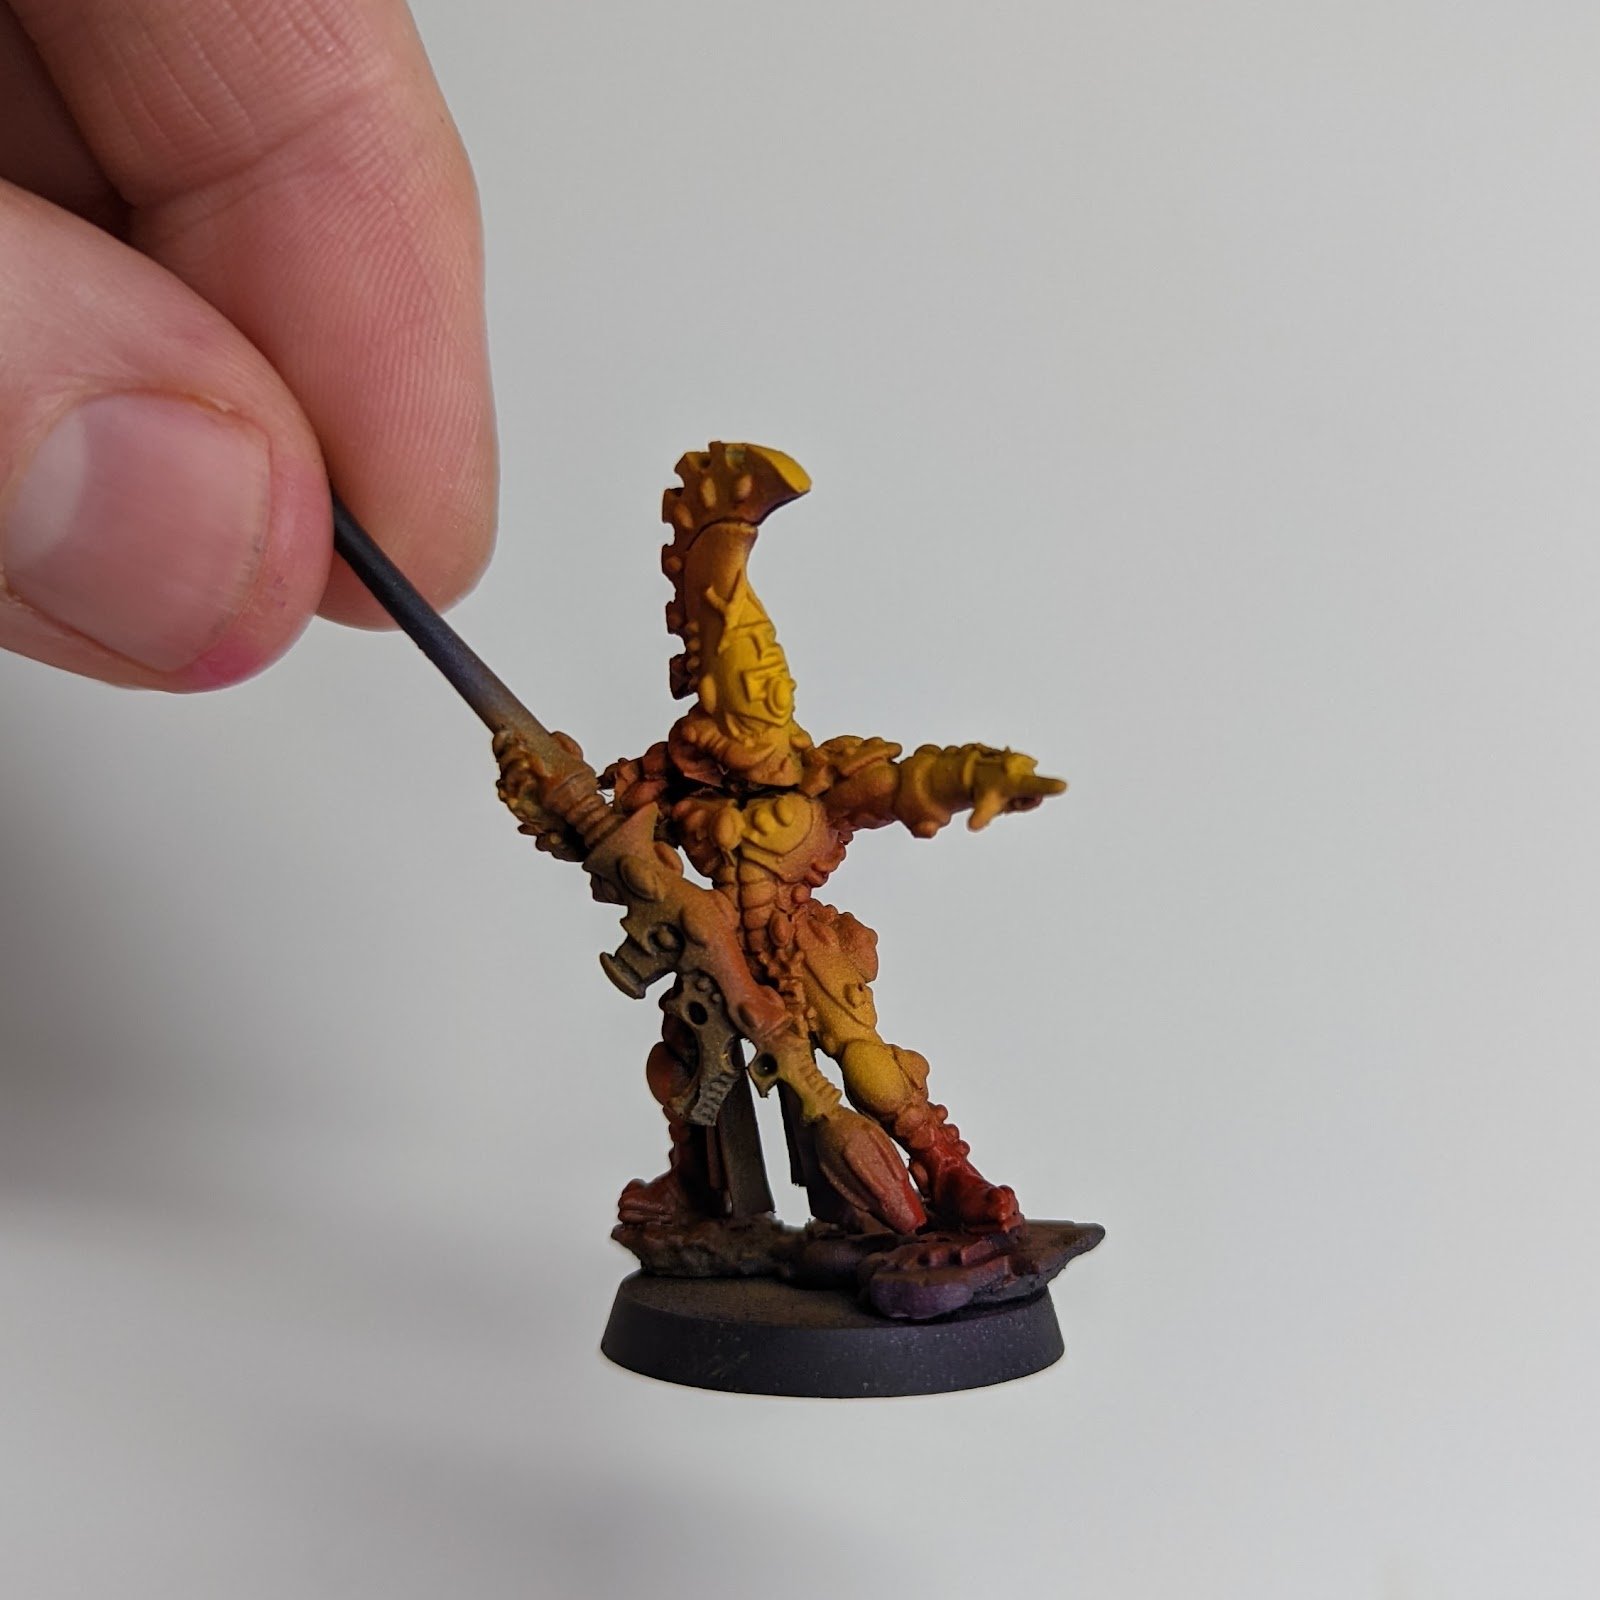
I decided I had gone a little too far with the previous step; I really wanted this to be a yellow and not an orange!
So I thinned down a little yriel yellow (roughly 1:1 with water and a few drops of Vallejo thinner) and hit the places which would get light - helmet, hands, knee pads etc with the airbrush. Again, you can do all this with a brush!
I wanted to note here that I was essentially fixing a mistake in this step- everyone makes them. It's ok to go back and forth until you get the results you want.. the absolute worst case scenario in miniature painting is you just strip the model and start again, so don't be afraid to get it wrong.
Yellow Volumes
Photo Credit: Dan J
Step 7: Blacking In and Recess Wash
At this point I do two things:
I black in some of the details of the model (I used Vallejo Model Colour Black). You don't have to do this here, but it helps define the model and also helps me feel a sense of progress.
It's really important to do this with a brush with a good point (I used an Artis Opus size 3) and to take your time. I cannot stress this enough- it's really hard to paint yellow over black so be careful!
I thin down Warlord Purple (roughly 1:2 with water) and pin wash around the armour panels and all the little Eldar blips.
I also do a little light glazing - pulling the brush towards the shadows.
At this point you could skip the edge highlight stages below, move on to painting the other parts of the model and get on with your life!
Blacking In and Recess Wash
Photo Credit: Dan J
Step 8: Edge Highlights
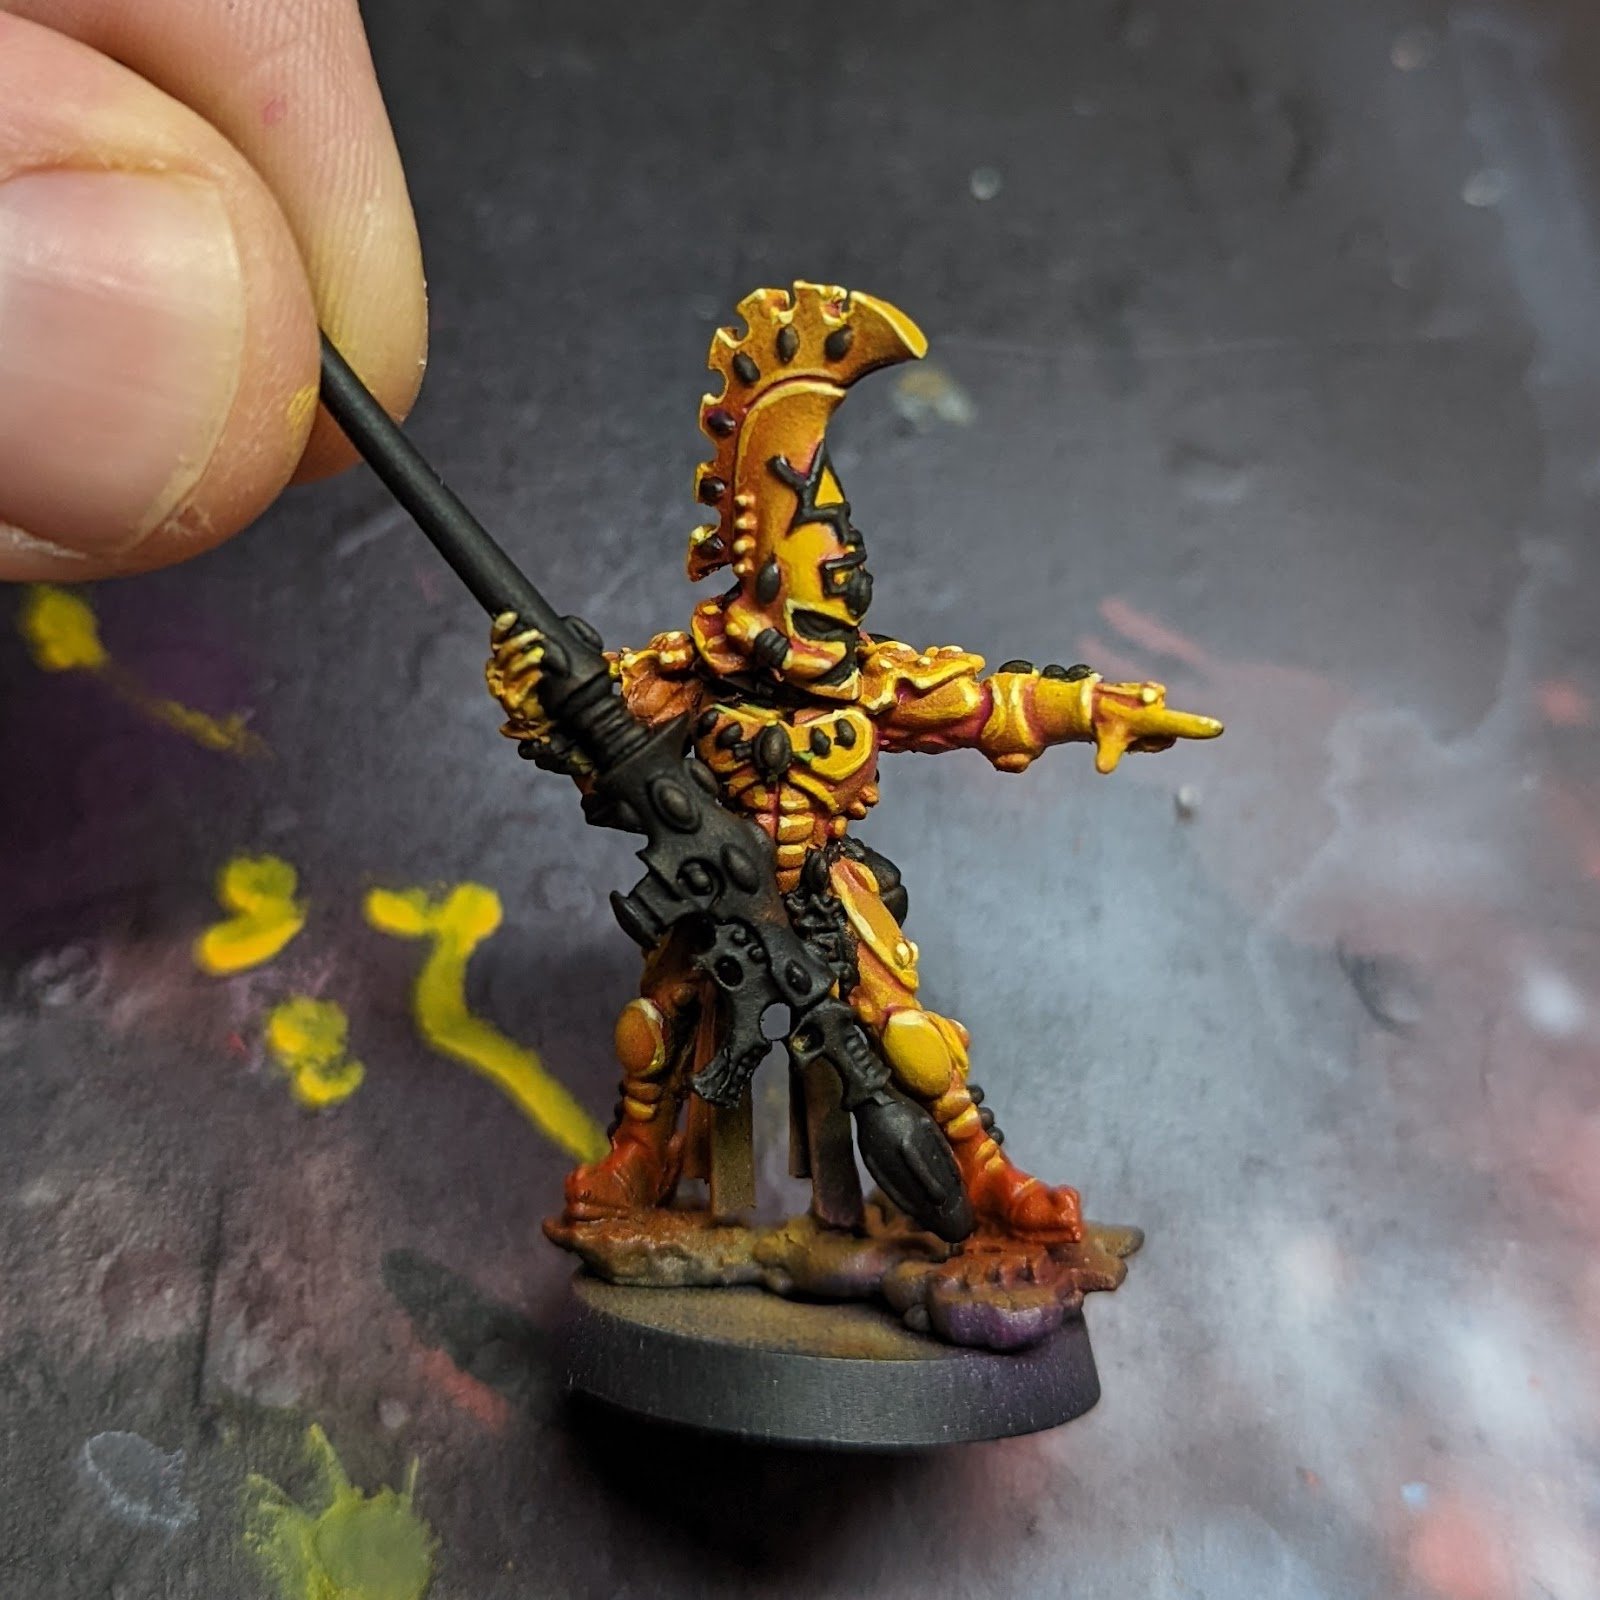
I apply three sets of edge highlights (you don't need to do all 3):
Yriel yellow
50:50 yriel yellow and ice yellow - focusing on the raised edges.
I pick out a few bright points with pure Ice yellow. Less is more with this step!
Edge Highlights
Photo Credit: Dan J
That's it - I hope you've enjoyed this. If you've got any questions drop me a message on Instagram [Dan J Paints]
See you next time!
- Dan J
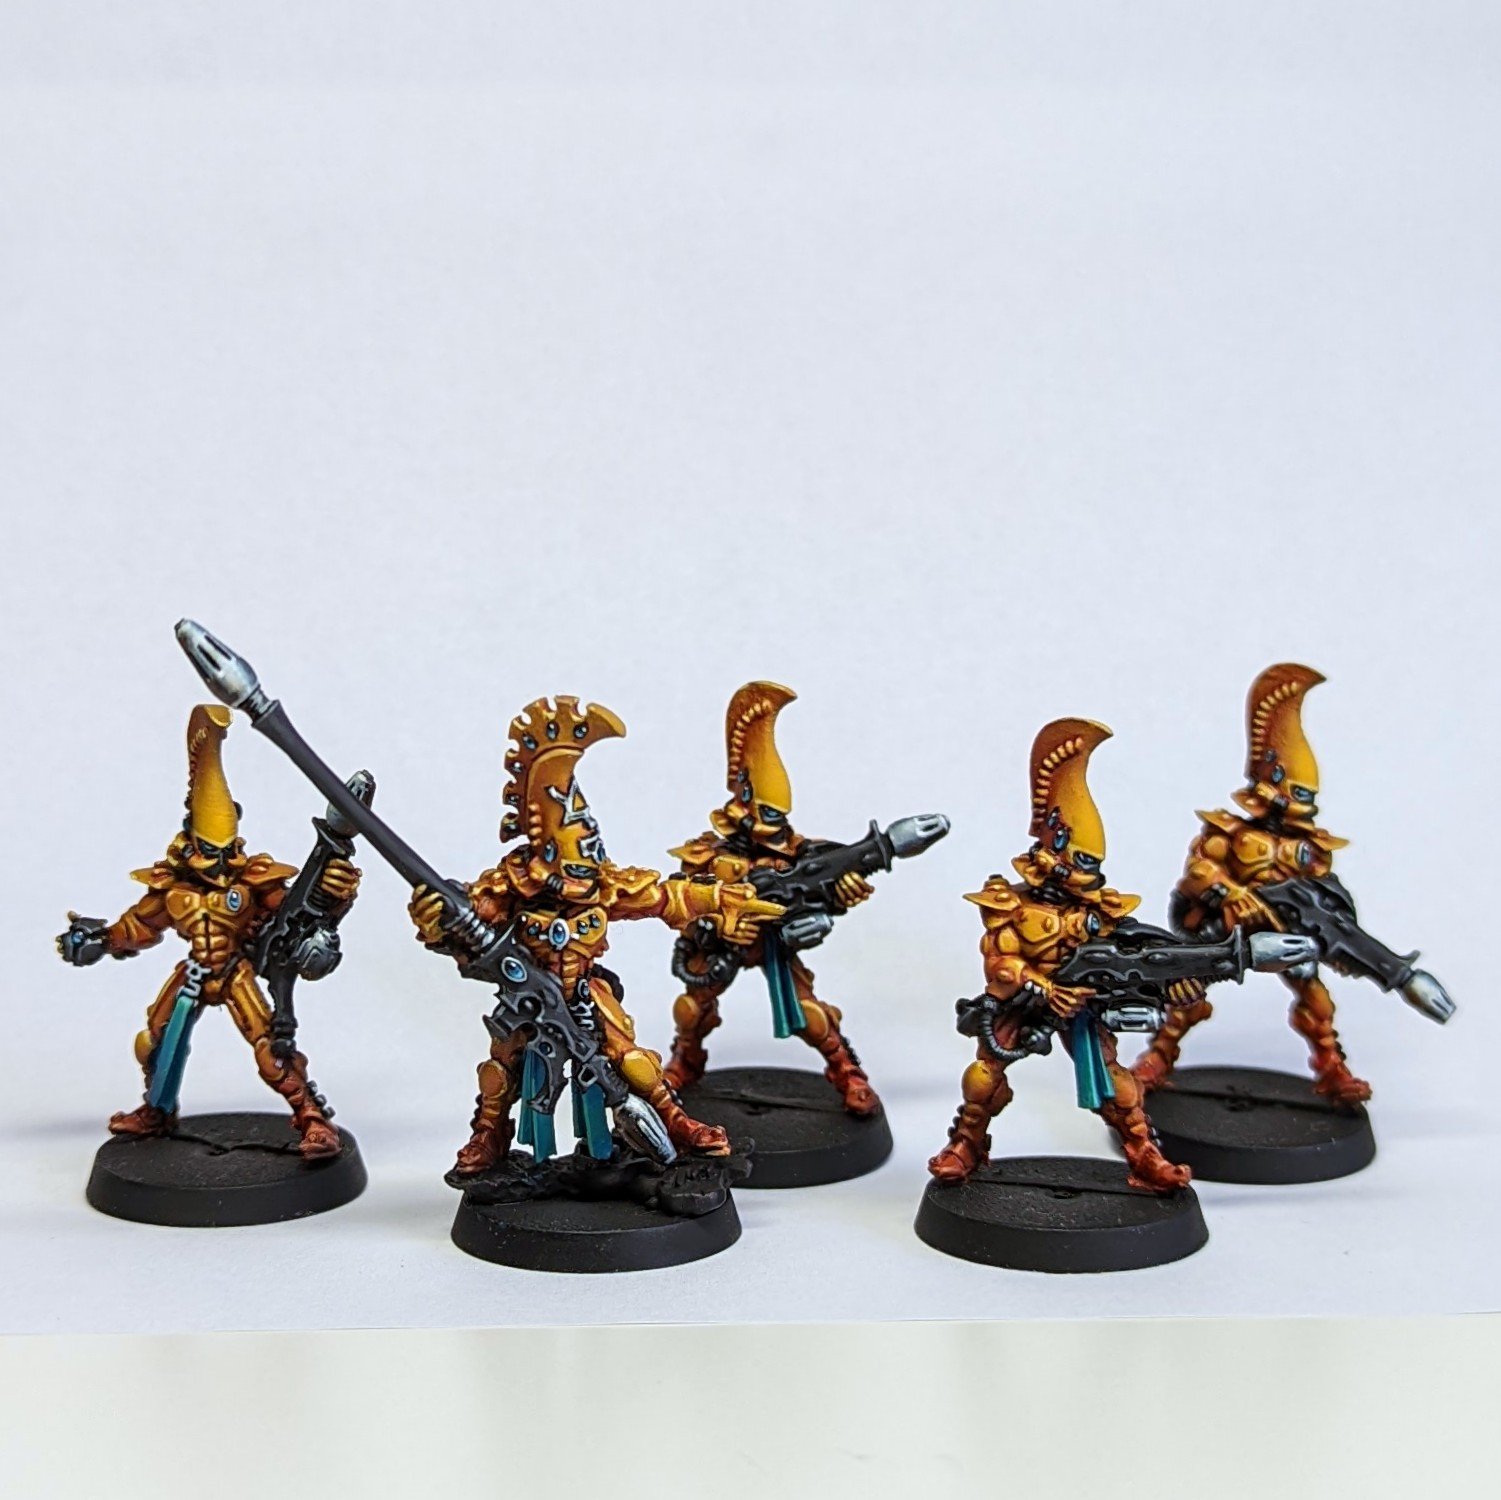
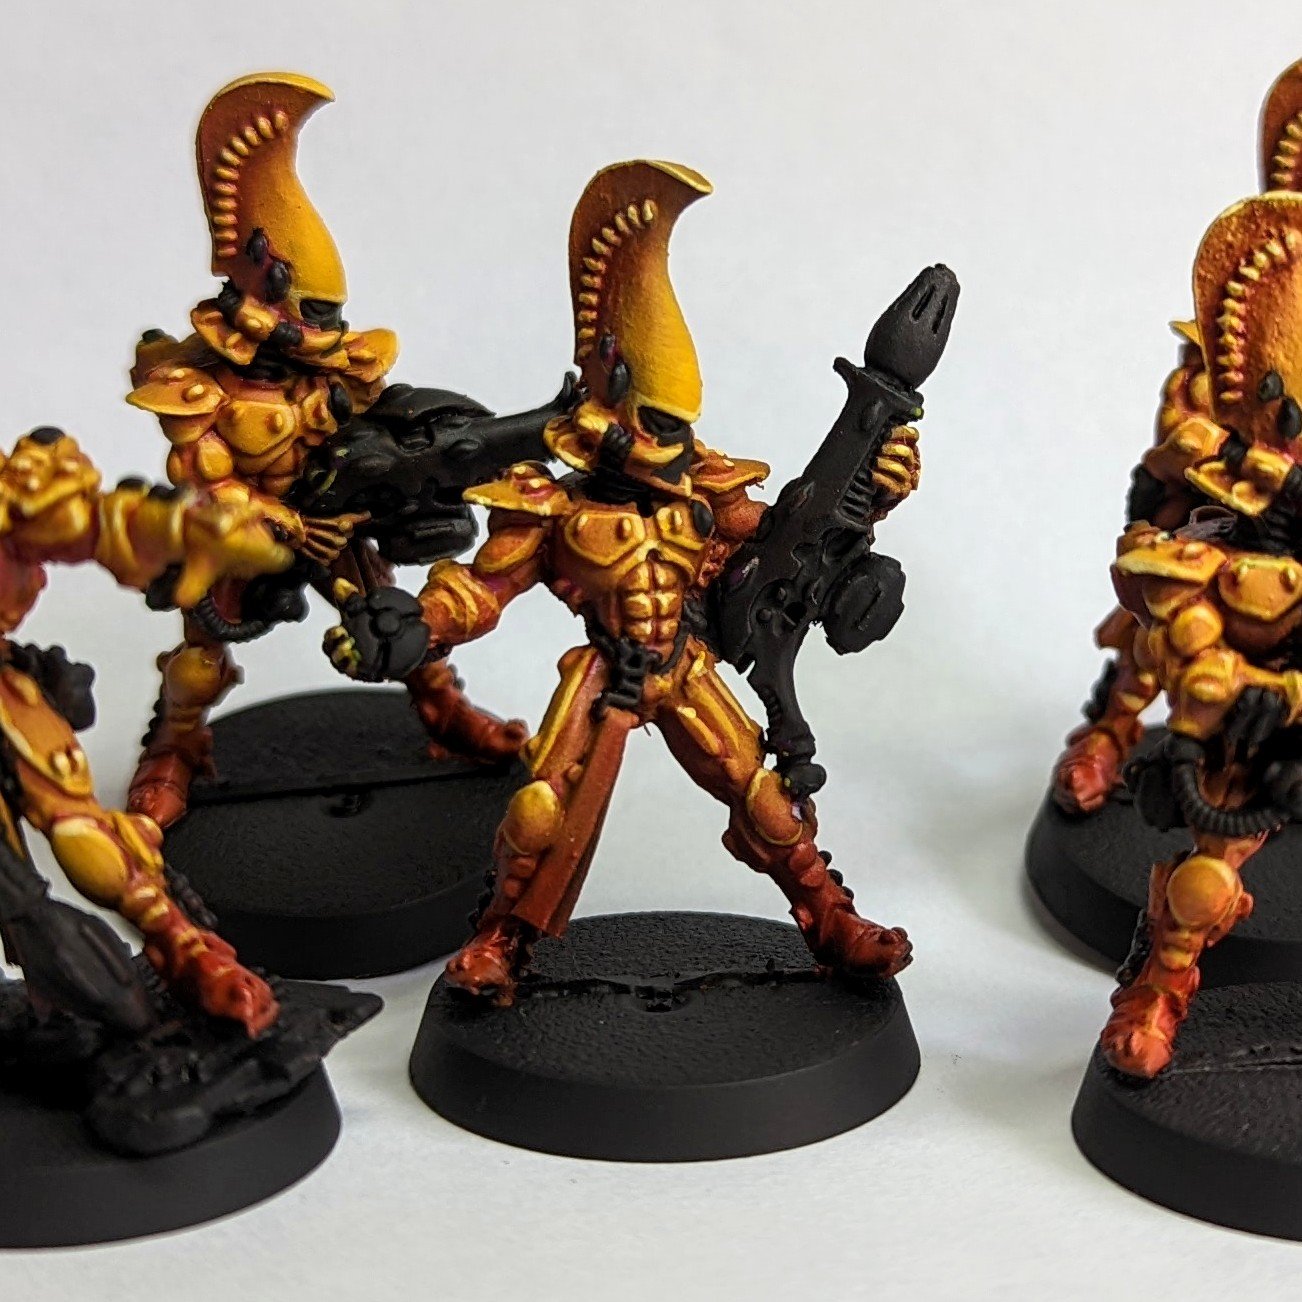
Fire Dragon Squad
Photo Credit: Dan J
A Massive thank you to Dan for agreeing to put together this article for us. If you’re part of the Stat Check Discord and you’d like to put together a tutorial like this, get in touch, we’d love to see all of your ideas and share them with the world.
The Stat Check Team